
How to Sew Beautiful Buttonholes
I’ll be honest - I’ve been sewing for most of my life, and buttonholes still give me The Fear. They’re the final job on any make, and quite literally front and centre of most garments. And when you consider that you’ll be cutting into your work and there’s no coming back from mistakes, it’s little wonder that sew many sewists steer clear of buttoned projects all together.
It’s precisely this fear that inspired the most recent Technical Tuesday. The opportunity to take a deep dive into buttonholes, pick up a few tips and tricks and get in plenty of practice can work wonders for everyone’s confidence, and open up a whole new world of stitchy possibilities.
In the class we covered two types of buttonhole, but it was so successful that I thought I’d share the first with you all.
The Simple Buttonhole is an absolute classic. I probably use this on about 95% of my projects - it’s subtle, tidy and strong enough to withstand plenty of use and handling. It can be made on a very basic sewing machine, without the need for a button-hole foot or any special settings - as long as you have a zigzig stitch, you’ll be fine. I’ve used contrasting fabric and thread for the example below so that it’s easy to see, but for your projects I’d recommend matching the colours as closely as possible for best results. Take your time, and always practice on your scrap fabric first. You can do it!
Making Simple Buttonholes
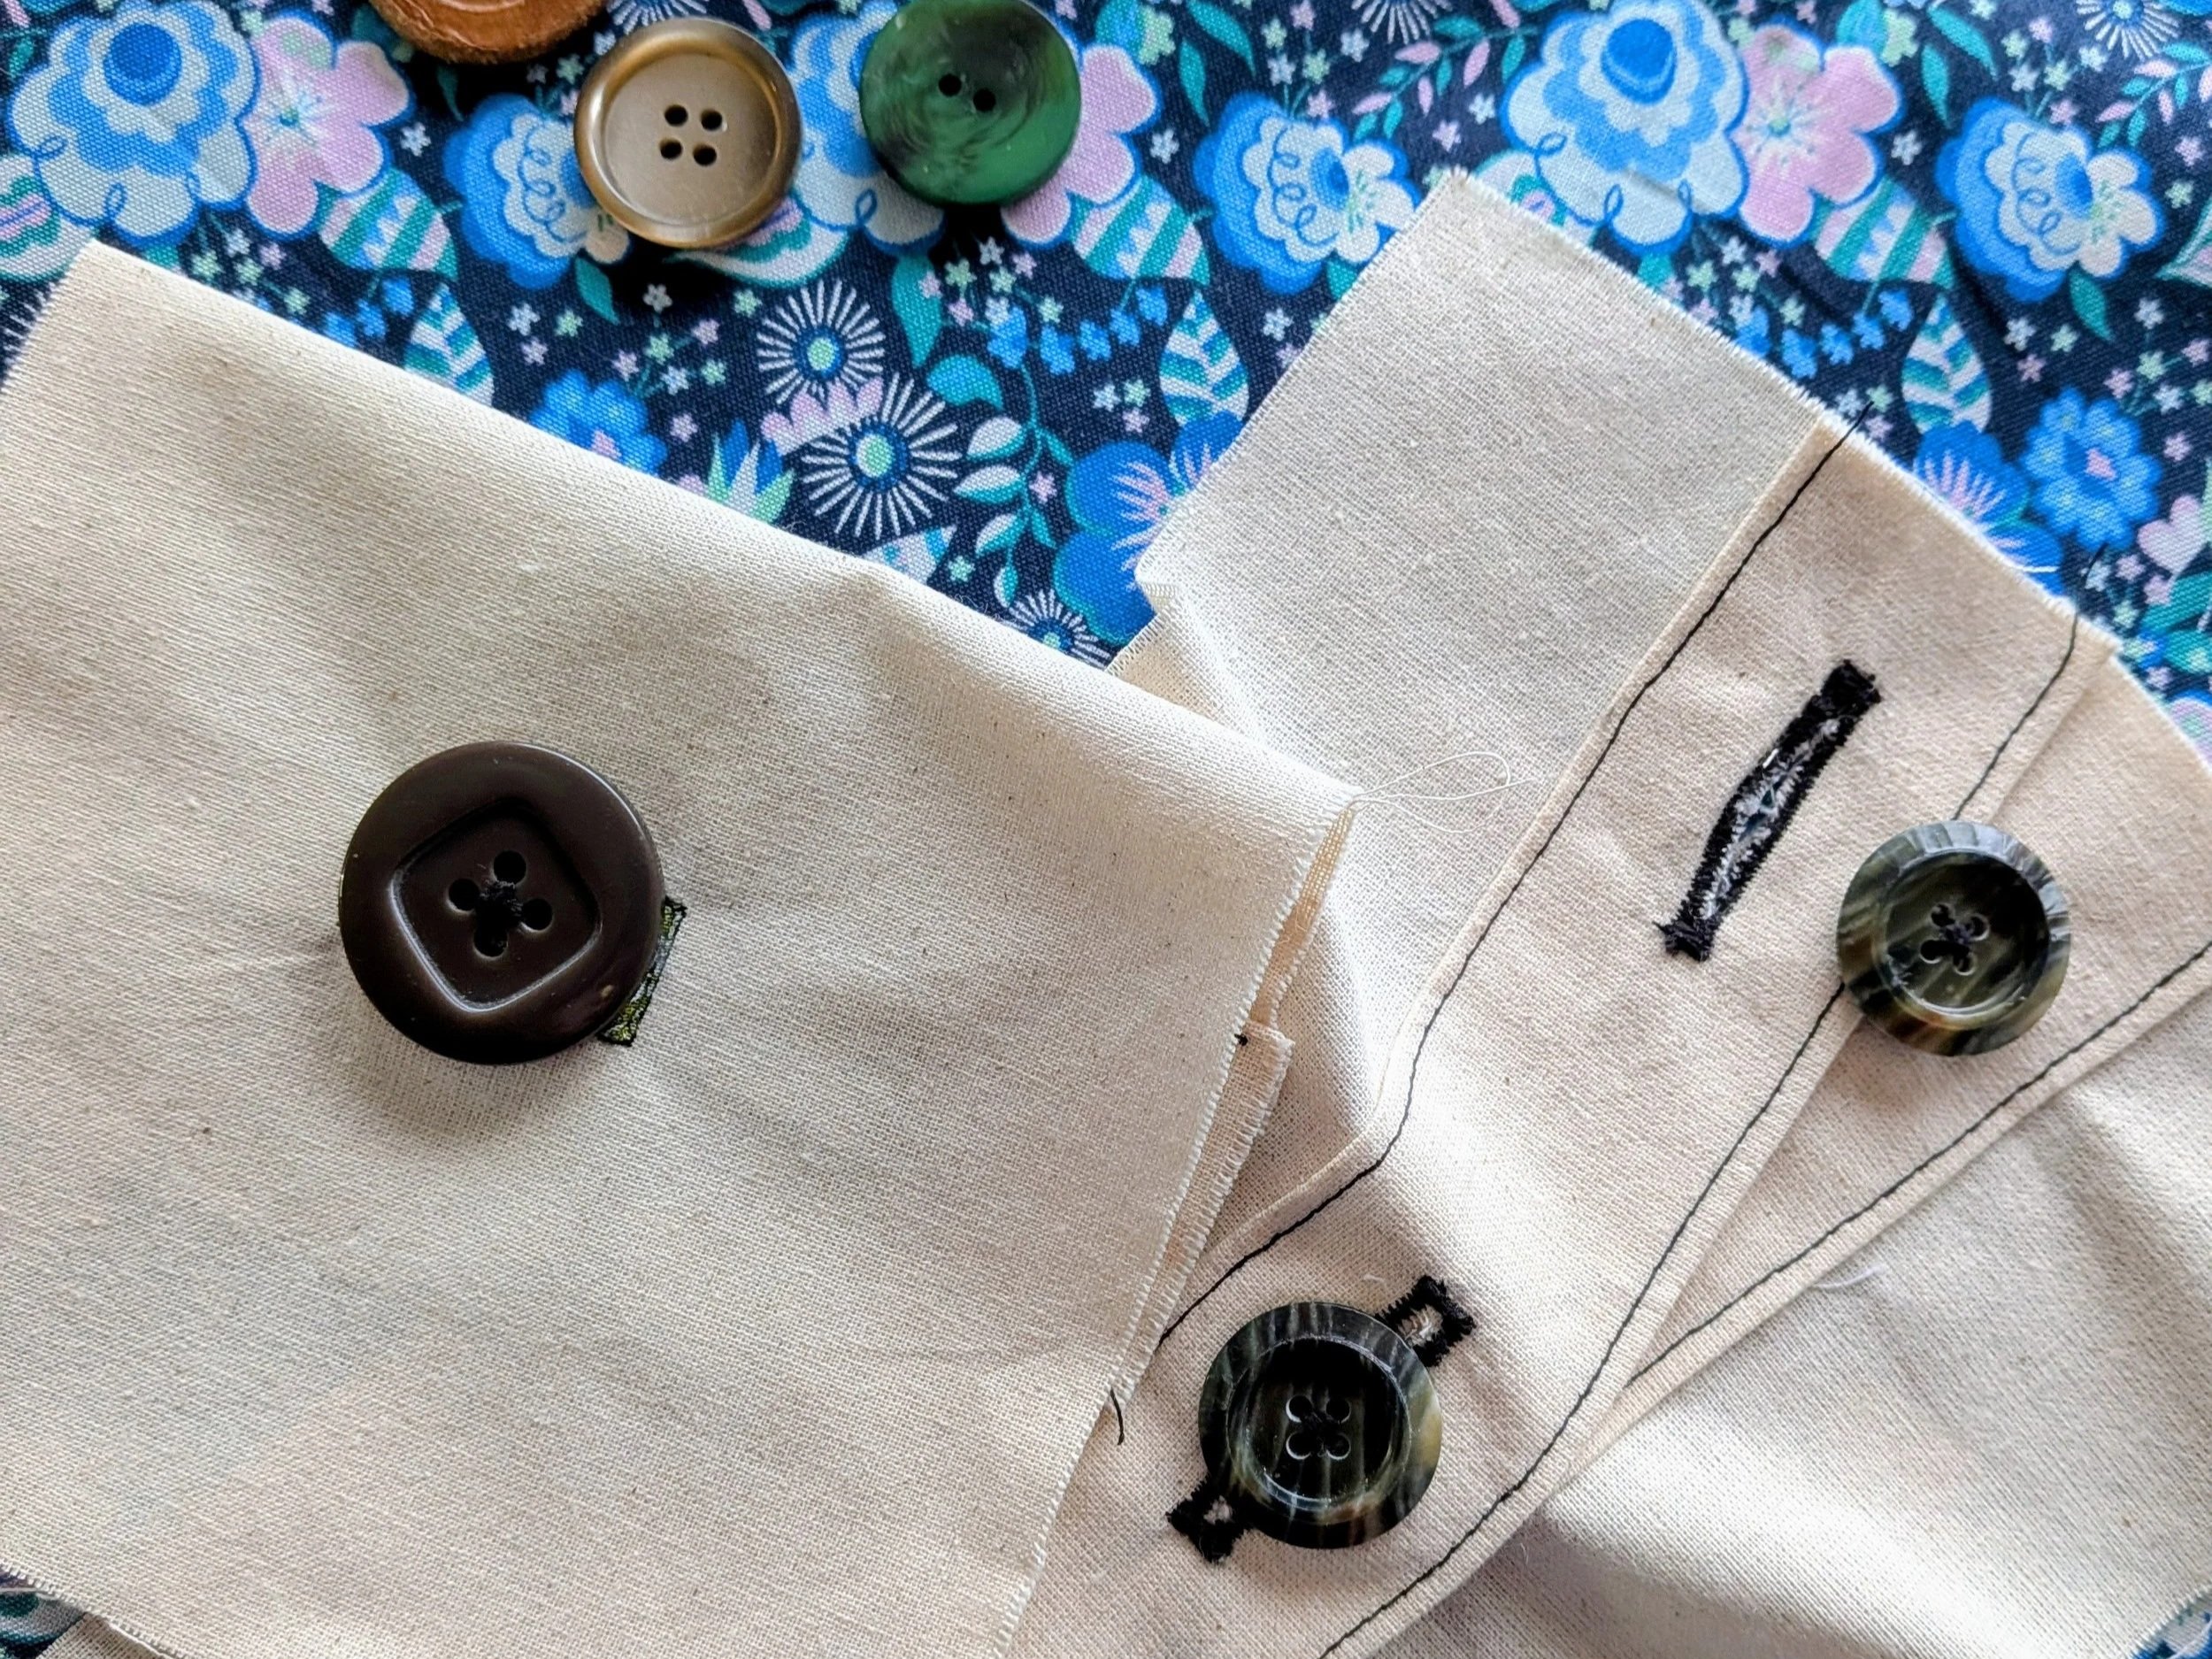
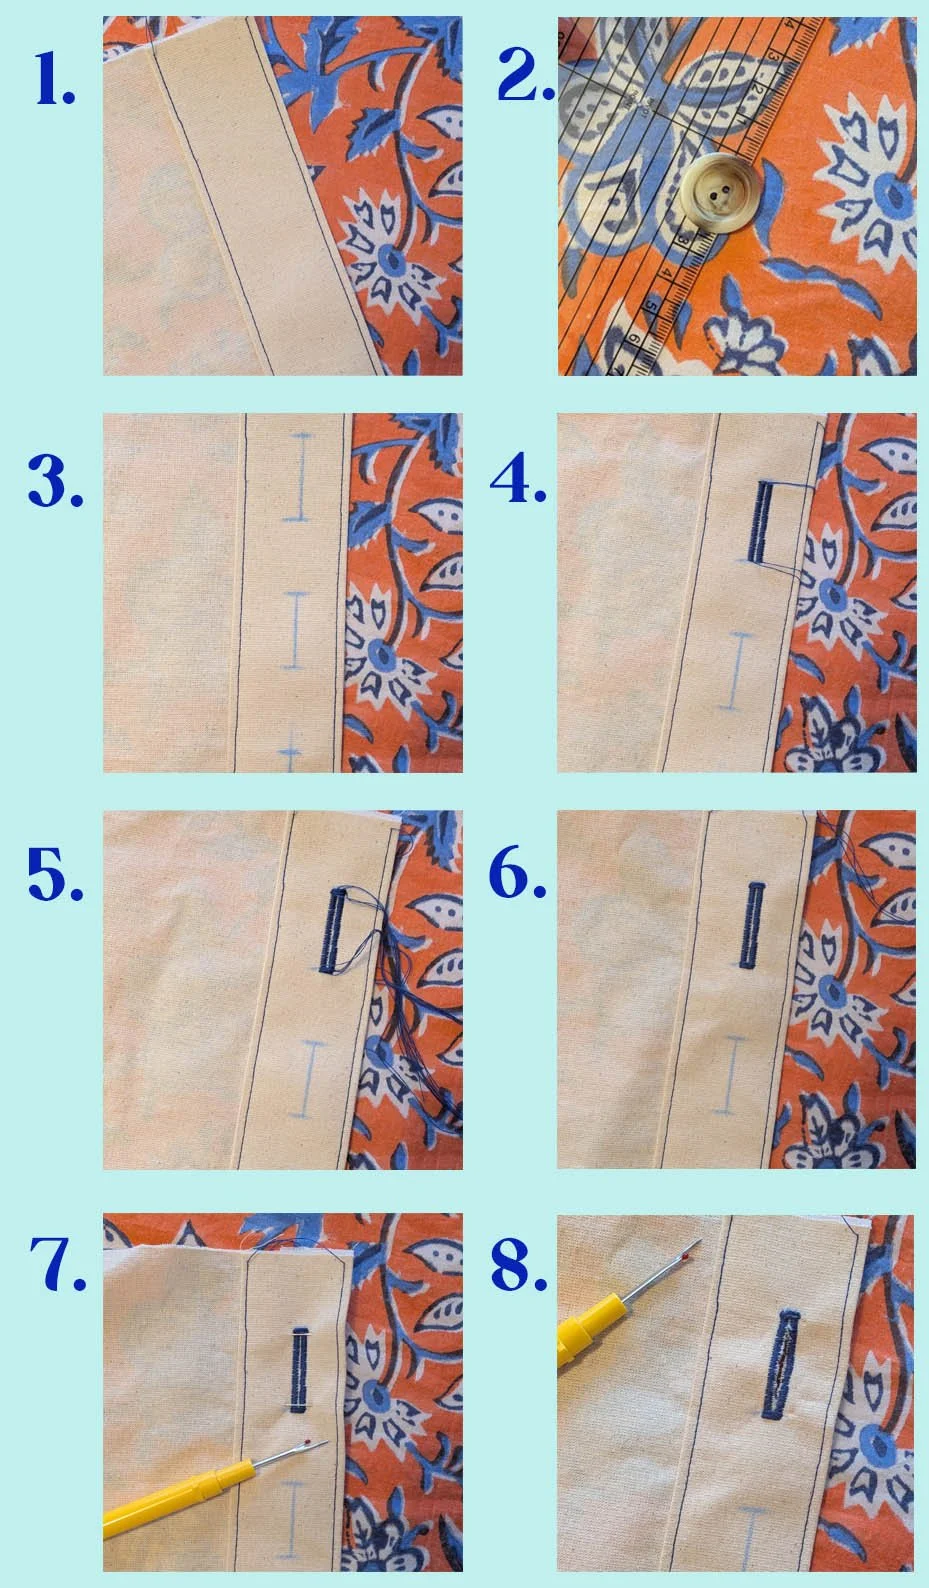
Prepare your button placket. Always use iron-on interfacing and a double-layer of fabric.
Determine the length of your buttonhole.
Length = Button Diameter+5mm. Always practice on scrap fabric first, as you might need to tweak that formula a bit depending on the weight and drape of your fabric.
With tailor’s chalk, use that measurement to mark out an I on the fabric.
Use a small, tight zigzag stitch to fill in the gaps either side of the I. Generally I’d opt for Stitch Length 0.5, Stitch Width 2. Be careful not to let the two rows of stitching touch in the middle. I tend to start and finish by using the balance wheel, to make sure I know exactly where the needle will land and be sure I won’t overshoot the mark.
Measure the width of your buttonhole, and use this to determine the width of your bar tacks. Keep the stitch length the same. Position your bar tacks at either end of the buttonhole, just covering the ends of your zigzig rows.
For best results, use a hand-sewing needle to bring all your loose threads to the back of your work, and sew them into the zig-zag stitches before trimming. This will keep everything secure, even when the button takes a lot of stress or handling.
You’re almost ready to cut the hole open! Protect the bar tacks at either end by placing a pin across the width of the buttonhole, just in front of the stitches. Then, using an unpicker and working from the right side, carefully open up the buttonhole.
Tease out loose fibres from the fabric and trim off using embroidery scissors.
Let me know if you try it - I’d love to hear how you get on with these instructions, and see photos if you’re willing to share. Happy button-holing!
Helen x